Are you prepping for prom or standing as the groom on your big day? Pinning a boutonniere onto a jacket seems daunting.
The last thing anyone wants is to prick their date or themselves accidentally. While the term “boutonnière” might sound as intricate as the process itself, fear not because it’s surprisingly straightforward.
So, How Do You Pin a Boutonnière to a Jacket?

If you’re eager to master the art of attaching a boutonniere effortlessly and with finesse, just breeze through these simple steps.
Step #1: Hold the Boutonnière Properly
Ensure you’re holding the boutonniere correctly, with the floral center facing you while the greenery, like leaves, should not point towards your chest.
Step #2: Lay the Boutonnière Flat Against the Jacket’s Left Lapel
Place the boutonniere flat on the suit’s left lapel, imagining it positioned just above your partner’s heart. It should rest evenly between the left and right edges of the lapel.
Step #3: Move the Boutonnière to Cover the Top Button Hole

Adjust the boutonniere so the flower aligns with or rests just below the lapel’s broadest part, covering the top buttonhole. Moreover, you need to angle the stem slightly parallel to the edge of the lapel.
Step #4: Lift the Jacket’s Lapel
Now, you must lift the lapel to expose the back, securing the flower in place with your non-dominant hand. Insert the pin from the back to keep it discreet and prevent any metallic glints in photos.
Step #5: Push the Pin Through the Lapel’s Back and Boutonnière’s Stem
Guide the pin through the lapel’s back and boutonnière’s stem, positioning it facing downward. Then, insert the pin through the stem where it’s thick, just below the attachment to the petals.
Step #6: Push the Pin Back Through the Lapel and Stem
The pin should be firmly in place, lying vertically against the lapel. Also, you can move the pin forward through the fabric and stem, then back through the fabric, with both the pinhead and point concealed on the back of the lapel.
Step #7: Secure the Boutonnière
Gently wiggle the boutonniere to ensure a secure fit. Step back to assess the placement, ensuring it’s neither crooked nor starting to pivot on the pin.
Step #8: Use Another Pin for an Extra Support
You can use a second pin for added support, especially if the boutonniere is weighty. Secure the second pin about half an inch below the first, repeating the stitching process through the lapel and boutonniere.
What Kind of Pin Do You Use for a Boutonnière?

You can opt for boutonnière pins, as they excel at securing your floral accessory without causing any harm to your jacket. However, regular pins or clips can also perform the task admirably. Also, choose blooms that elevate your boutonnière to perfection for that special occasion.
Can You Not Pin Boutonnière Toward the Top of the Stem?
Avoid pinning the boutonnière in the middle of the stem, as it isn’t a secure placement and may result in the flower flopping around. Opt for a more secure position by inserting the pin through the top of the stem, where the ribbon starts and the stem is thickest. This ensures a stable and secure placement.
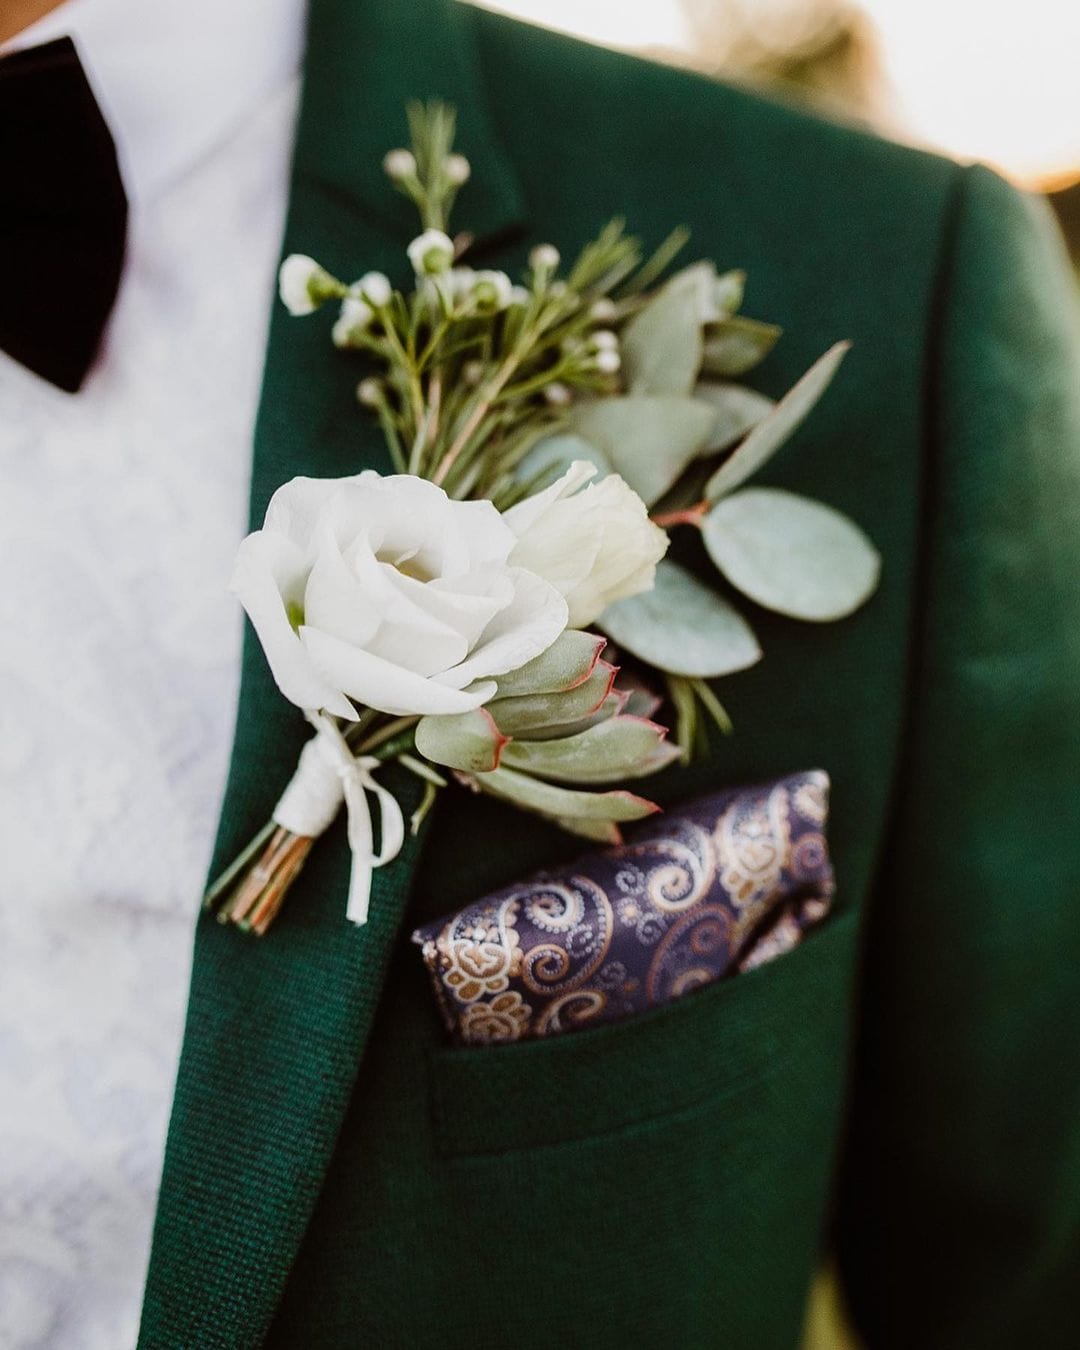
Where Should the Boutonnière Be?
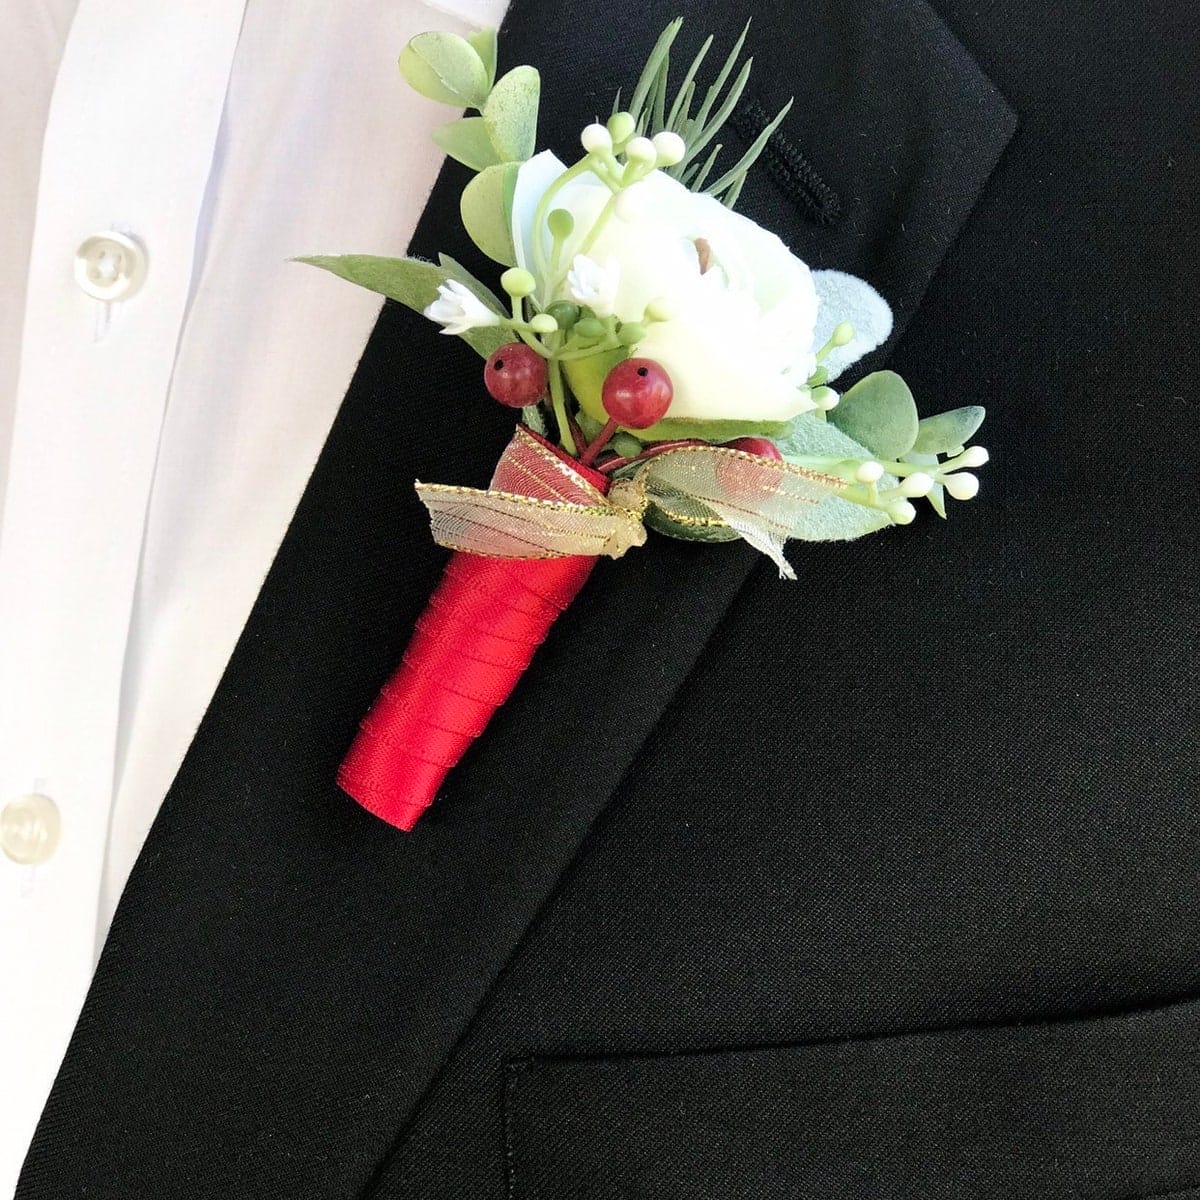
Traditionally, a boutonnière is worn at the center of the left lapel of a tuxedo or suit jacket, symbolically over the heart. Some jackets are even designed with buttonholes on the left lapel, specifically tailored for the placement of boutonnières.
The next time you fasten that pin, do it with flair, knowing that you’ve mastered the dance of elegance and practicality. Whether it’s a wedding, prom, or just a regular day, let your boutonnière be the exclamation point on your style sentence.


