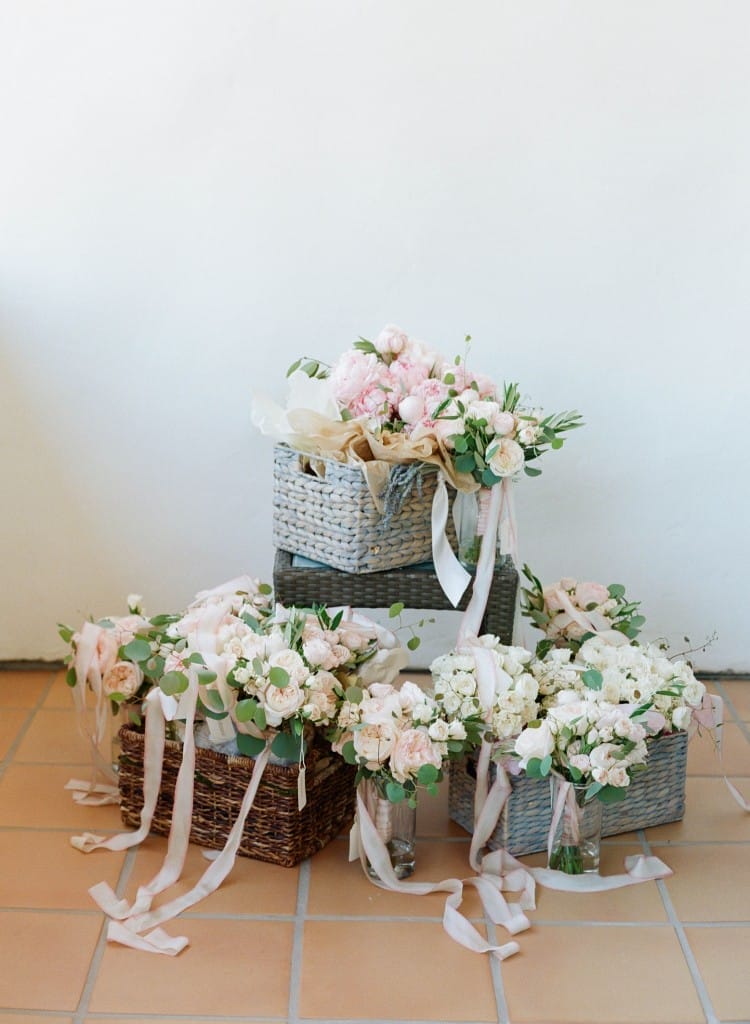
Creating an oval floral arrangement is a delightful way to add charm and elegance to any space. Whether you’re a seasoned florist or just starting out, crafting your own oval-shaped floral design is easier than you might think with this simple step-by-step guide.
But before we begin, let’s gather the materials. You’ll need:
- Flowers of your choice
- Foliage to complement your blooms
- A short and sturdy vase
- Floral foam (optional)
- Floral tape (optional)
Step 1: Select the Perfect Vase
Choose a short and sturdy vase that will provide ample depth for your arrangement. Oval vases work wonderfully for this style but feel free to use any container you have on hand.
Step 2: Prepare the Container
If you’re not using floral foam, ensure your vase is clean and filled with fresh water—no need for anything fancy here. Just make sure there’s enough water to keep your flowers hydrated.
Step 3: Choose Your Flowers and Foliage

Select a variety of flowers and foliage to create depth and interest in your arrangement. Consider colour, texture, and shape as you make your choices. Mix and match different types of flowers to add visual interest.
Step 4: Create the Base
Trim your blooms short and employ foliage or floral clusters as the groundwork to uphold the arrangement. Place your largest flowers or foliage along the edges of the container, letting them cascade over the sides organically. This will provide a sturdy foundation for your arrangement.
Step 5: Add Focal Flowers
Place your focal flowers, typically larger blooms, in the center of the arrangement. Cluster them together to create a captivating focal point. These flowers will draw the eye and add visual interest to your arrangement.
Step 6: Layer with Smaller Flowers
Fill in the gaps with smaller flowers, gradually transitioning in colour from the center outwards. This will create a beautiful gradient effect and add depth to your arrangement.
Step 7: Use Foliage to Fill
Intersperse foliage throughout the arrangement to add volume and texture. This will also help hide any stems and create a more cohesive look. Feel free to experiment with different types of foliage for added interest.
Step 8: Assess and Adjust
Step back and take a look at your arrangement from different angles. Make any necessary adjustments to ensure it looks balanced and pleasing to the eye.
References: